It’s kind of surprising that with all the beauty videos I do, I haven’t done a full brow tutorial. I’ve talked about brow products here and there, but it’s something I really haven’t delved into too deeply. Which is strange, given that, I think brows are one of the most important features in giving our face structure.
I have gone through lots of brow phases. For many years I thought having fuller brows meant, I didn’t need to do anything to them. Looking back, I have photos with the most unruly, unshapen brows (Hi, highschool photo!) At some point in my college years, I must’ve realized how ridiculous I looked because I got a tweezer in my hands and wreaked havoc. For about a year I had the thinnest brows imaginable and what it did to the look of my face was incredible (in a very bad way!)
Now I don’t consider myself a brow expert by any sense, however, I feel that over the years I have figured out what works for me. That being said, I still love trying new brow products and I have recently stumbled upon one worth talking about!
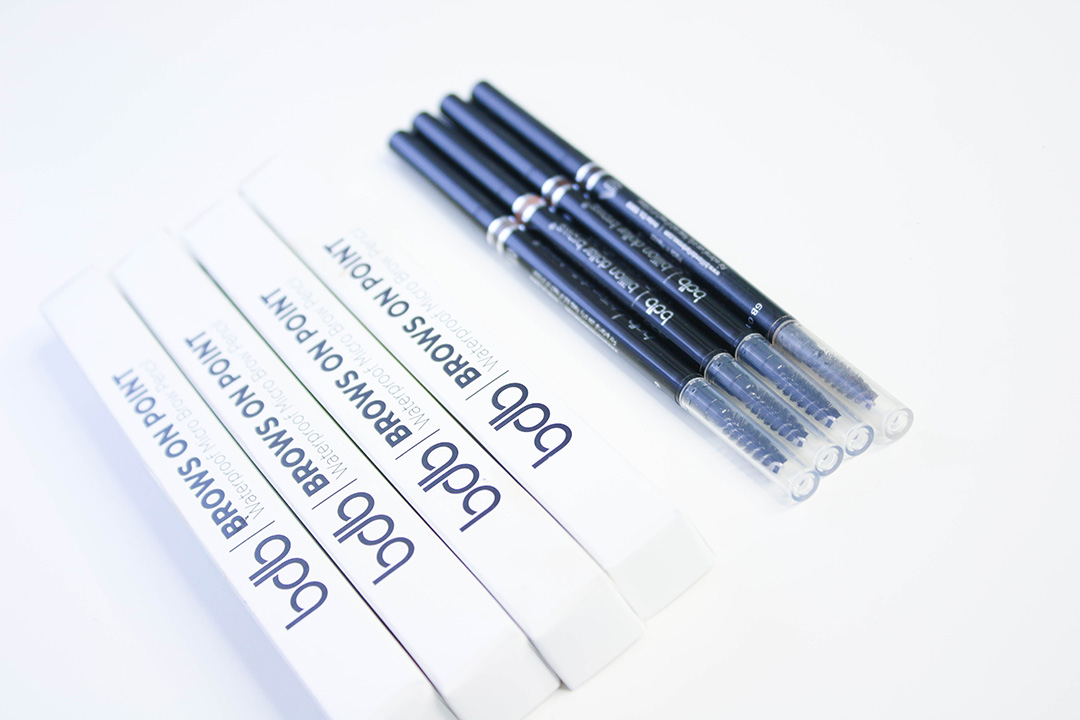
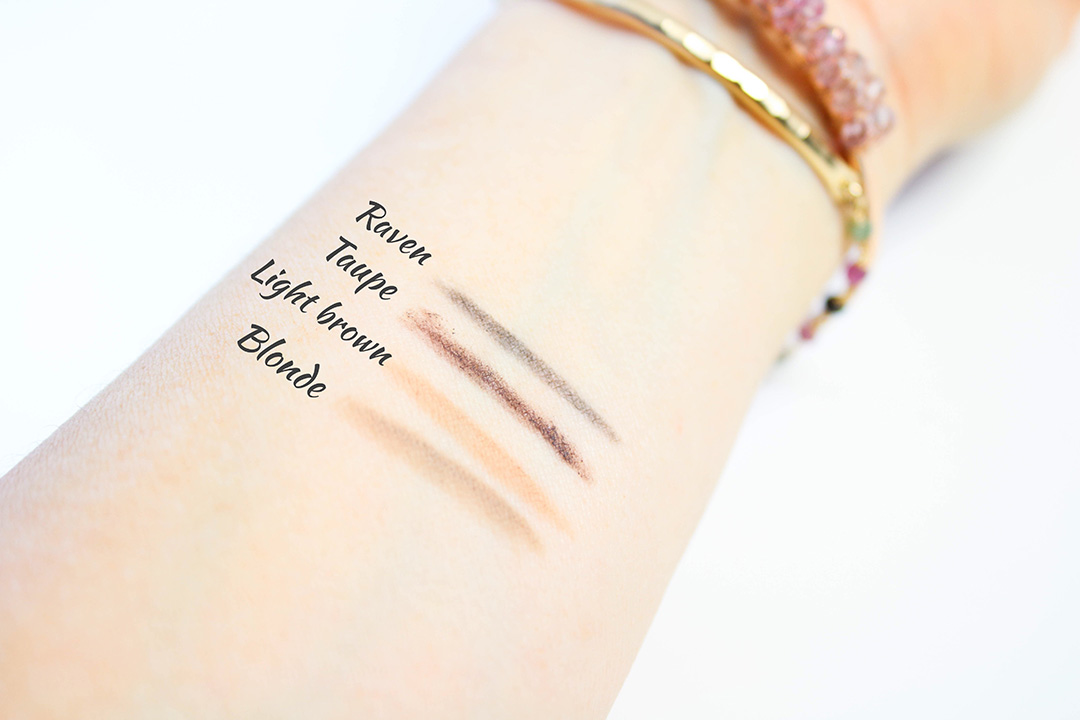
I have tried the thicker brow definers that have come out this spring but for me personally, I prefer a micro pencil and I am LOVING the Brows On Point by Billion Dollar Brows.
I wanted to share with you a list of reasons I personally love this.
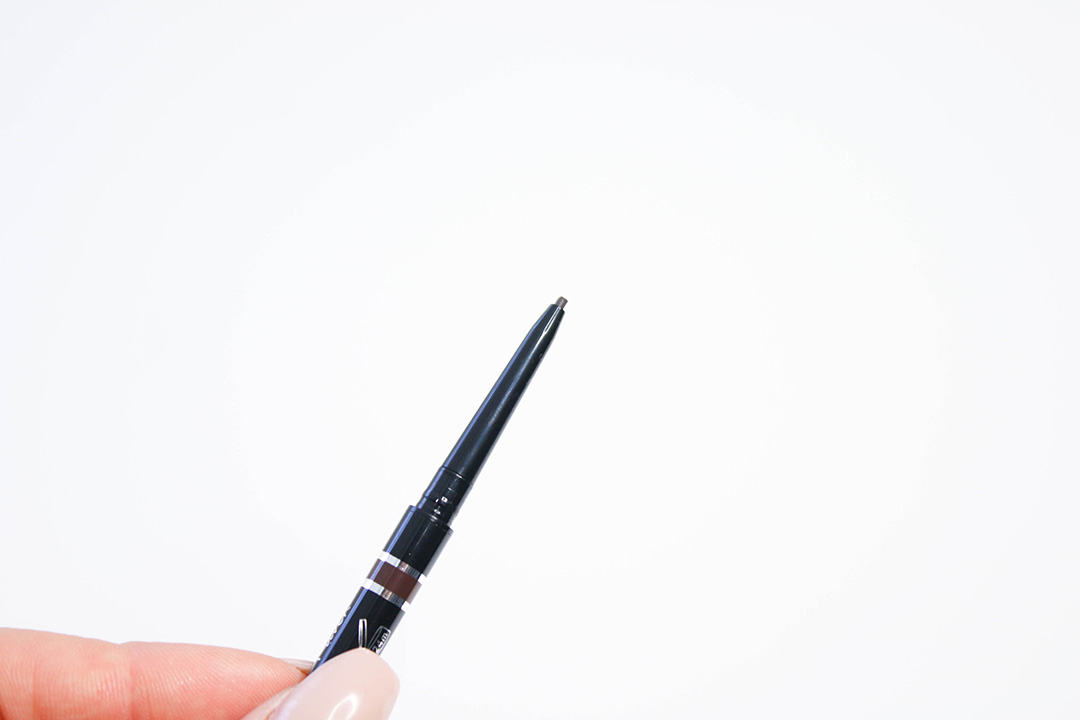
- I have more control: It has a super fine, self sharpening tip that allows you to create the look of tiny hairs. It is also a very blendable formula, which allows you to easily fill in sparse areas and blend out with the spoolie.
- It’s waterproof: This formula is sweat proof, smudge proof and stays in place.
- It’s affordable: They may be called Billion Dollar Brows, but this pencil is only $16!
- It’s versatile: It works great for someone with thicker brows as well as a more sparse brow.
I figured I would share my tips on how I fill in my brows. If you have a different brow situation, my routine may not work for you, but this is what works for me and is great for those who have a naturally fuller brow.
Step 1: The first thing I do is outline the tail and fill it in. The tail should be darker than the front.
Step 2: Run the spoolie through the tail to make sure it’s nice and blended and fill in any areas that I may have missed.
Step 3: Outline the bottom of the front of the brow and fill in any sparse areas staying away from the inner part near my nose. If you get too close to in the inner part, it can look too harsh.
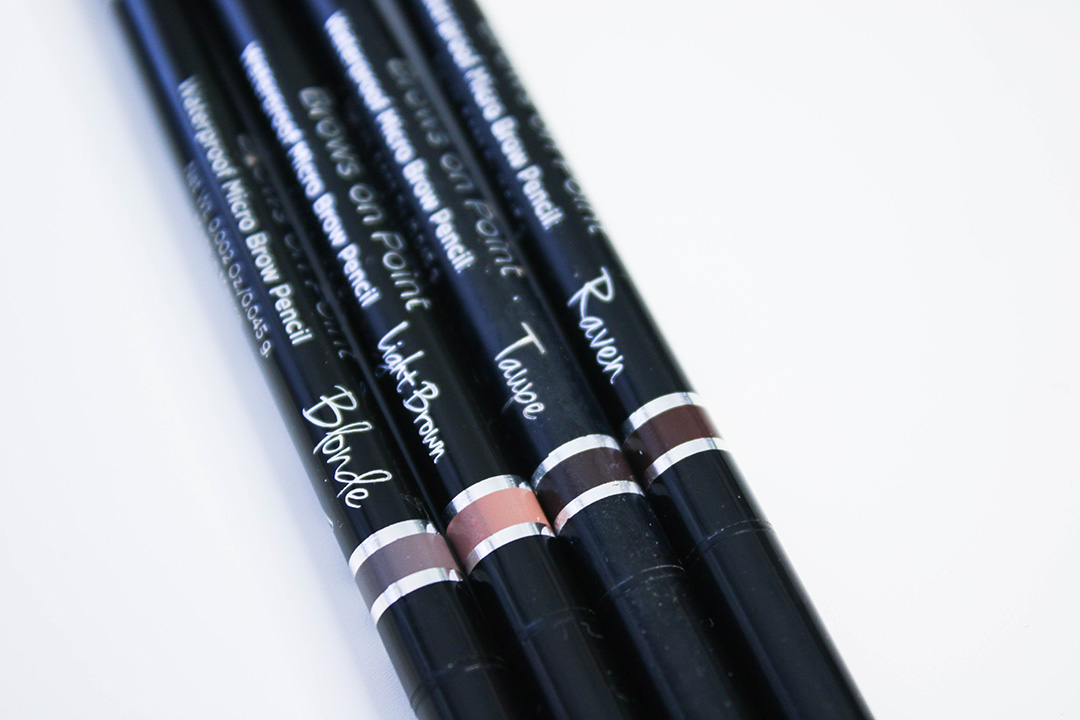
Step 4: With a lighter color pencil, I turn it and with light strokes draw tiny hairs upwards. (If you use a pencil the same color as the tail just make sure you use very little pressure.
Step 5: I then run the spoolie through everything blending it and repeat until all sparse areas are filled in to my liking.
Step 6. Set with a brow gel.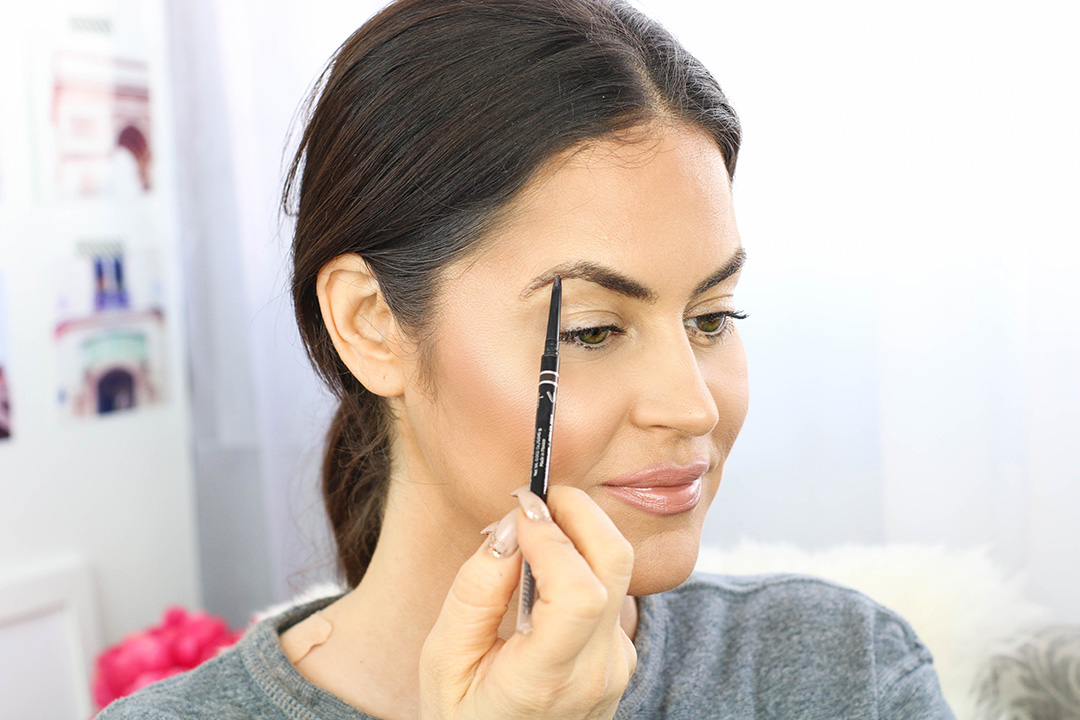
I hope my tips have helped those of you having brow issues. If you try this brow product leave me a comment and let me know what you think and you can tag your looks using the hashtag #BillionDollarBrows! Also, let me know if you’d like to see a video tutorial on my brow routine.
XO,

This post was in partnership with Billion Dollar Brows but all opinions are ALWAYS my own. Thank you for supporting brands that make Glam Latte possible!

